Amazon S3 Setup
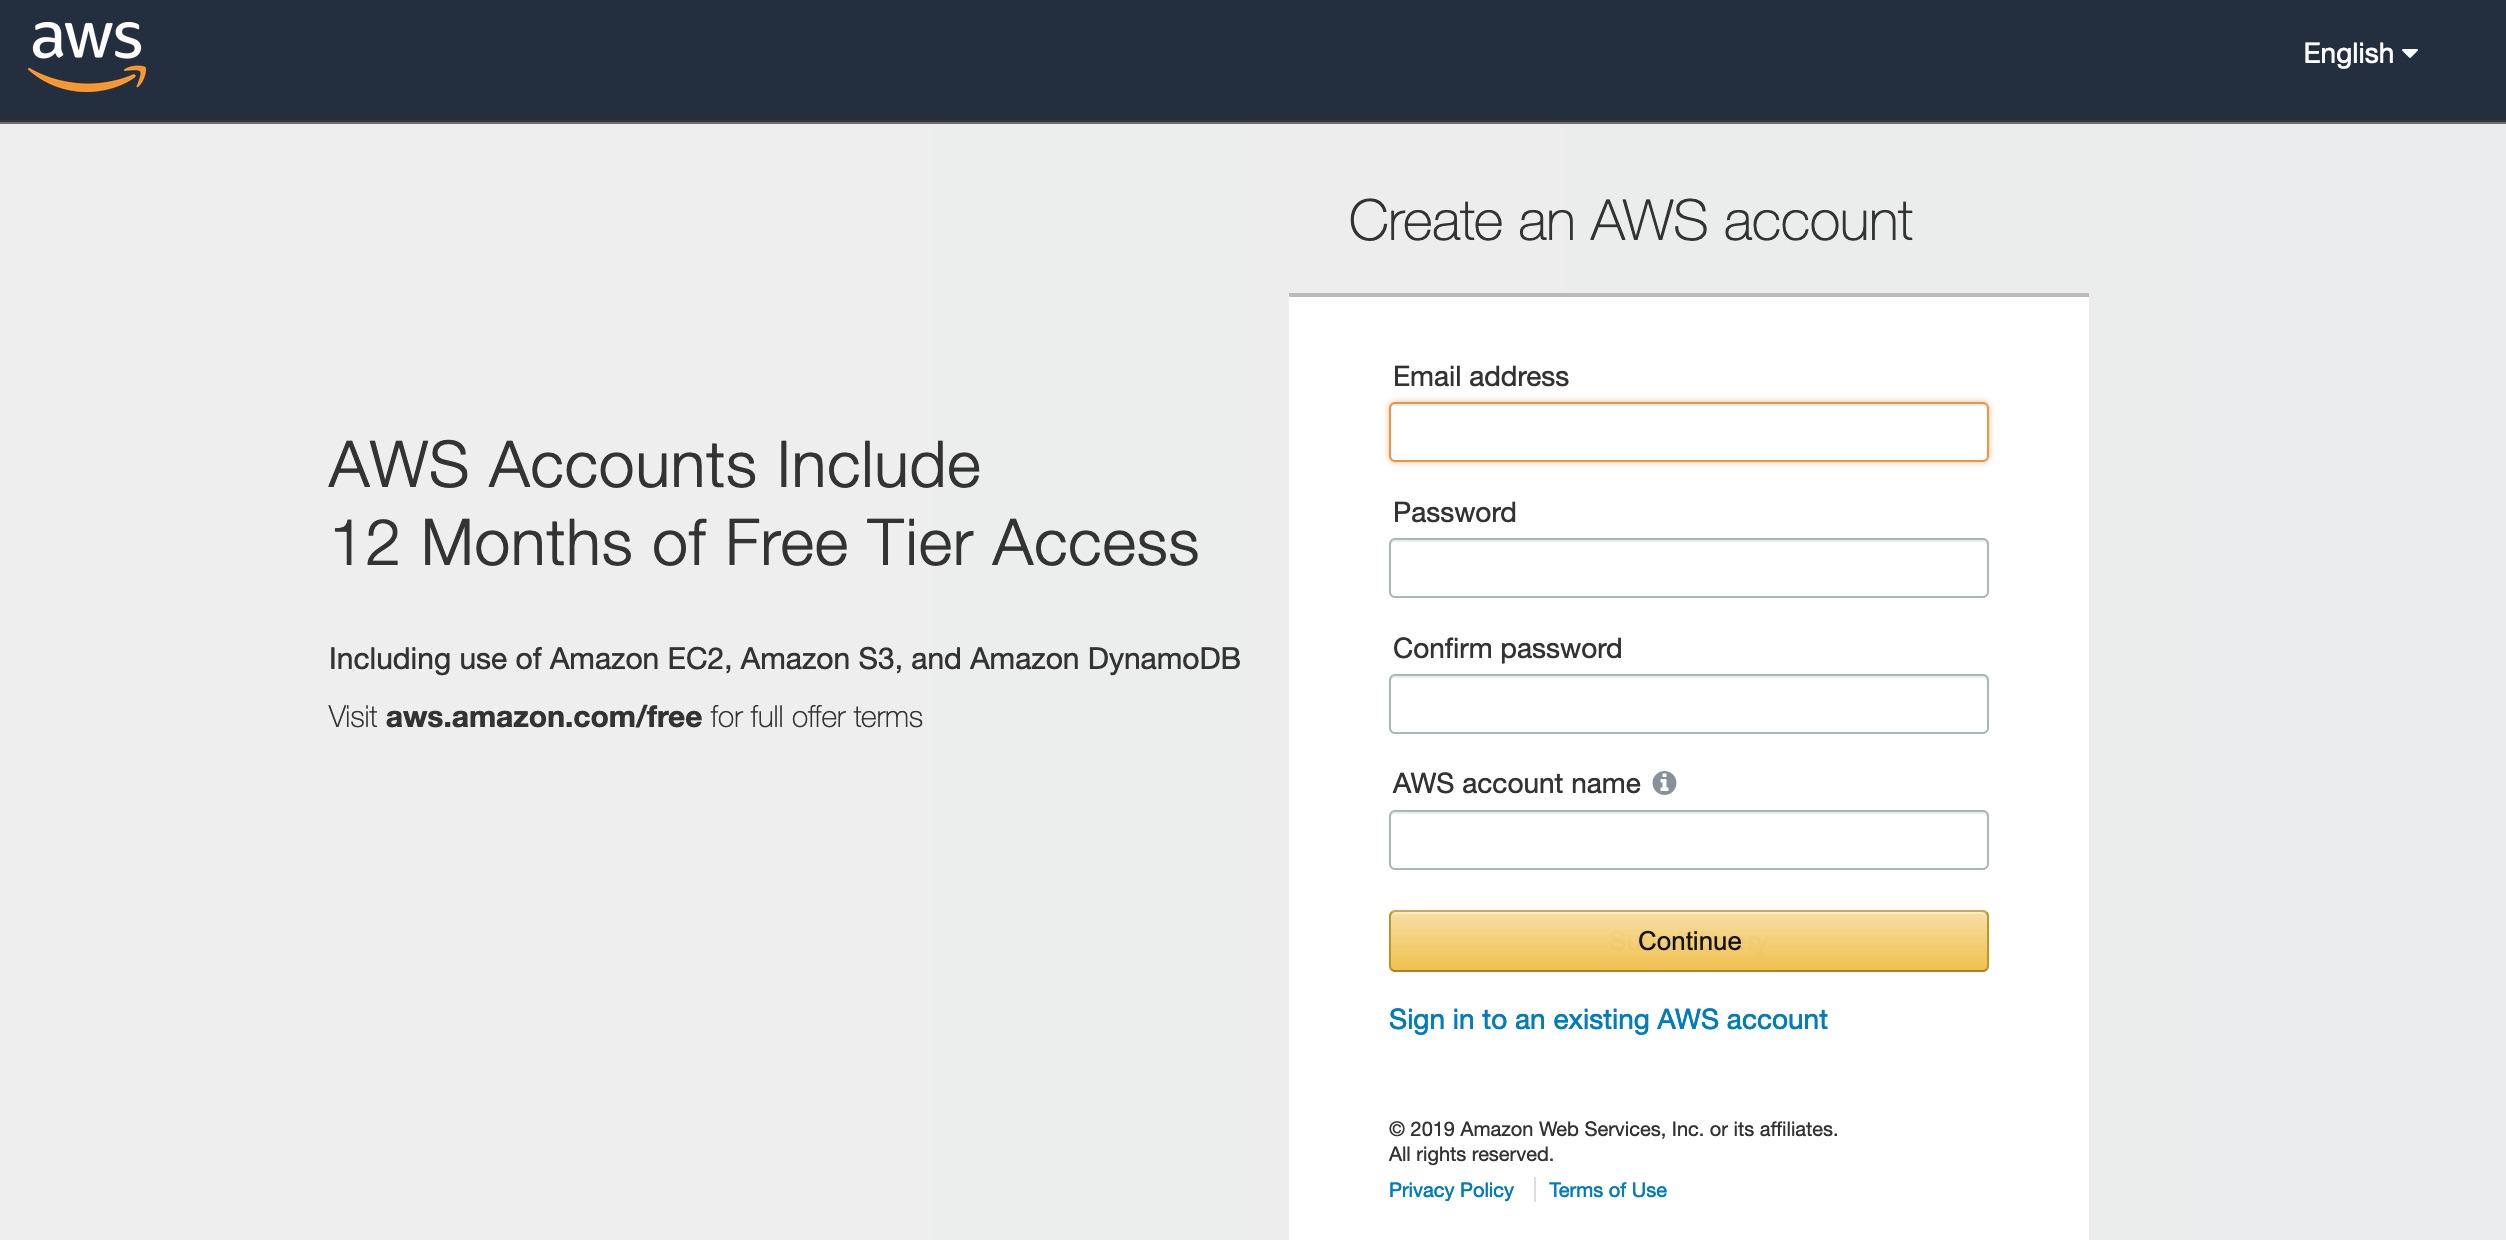
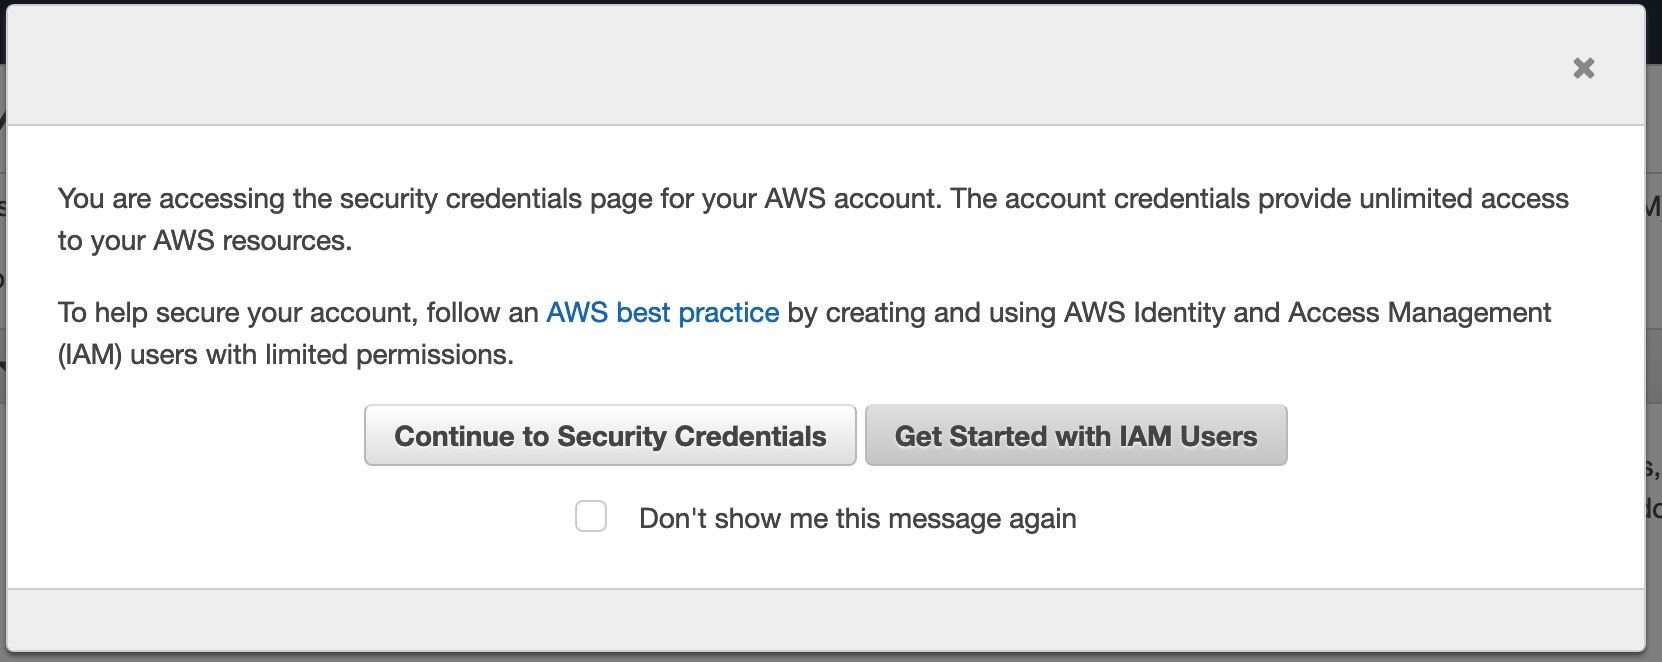
Let’s start off with setting up a new Amazon Web Servives account. Amazon offers a free tier for a year but even without, storage using S3(think of S3 as a huge always expanding network storage device) is very cheap. Access to S3 by default is restricted to those with special IAM keys. You can have multiple keys for different purposes(generate one for an editor, when they are off the job, kill the key and access is now gone.) There are charges for at-rest(the stored amount) and transfers into and out of the data center. There are multiple data centers, when you create a bucket, make sure its in a region closest to where you will be accessing the sounds.
You can use our proxy generator to make a series of files and have them automatically upload to your S3 bucket. You can have multiple buckets, but typically for Soundminer use you’ll just have one, think of it as a drive named the bucketname. The proxy generator creates a lossless copy of your audio file(FLAC), a lossy version(OGG) just for auditioning, and some other support files(like Waveforms and Metadata). A user who isn’t too concerned with audition speed, can then setup Soundminer to use these assets directly. For users who need to really the fastest possible access speed(perhaps you are a certain distance from the data center), we offer up a linux application that hosts an http server and syncronizes itself with the S3 bucket to pull down the audition assets local. Transfers still happens directly from the S3 bucket, but because you can probably deploy the linux server at a location very close to you, the time to audition can rival using Soundminer with a local NAS.
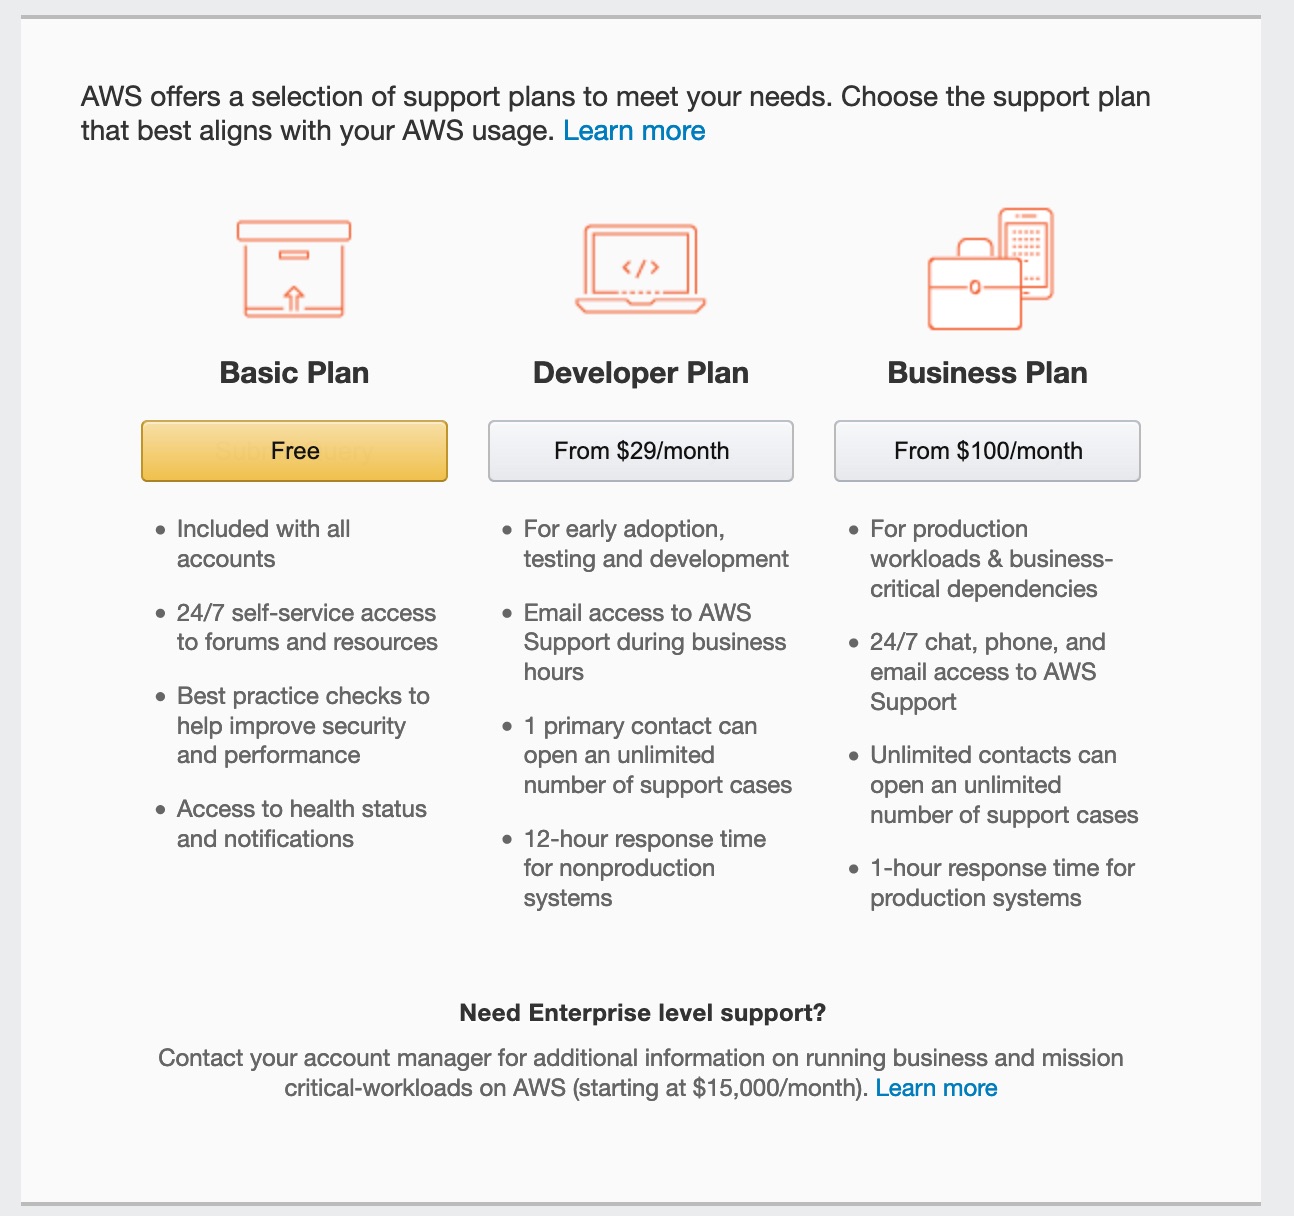
Choose the free tier.
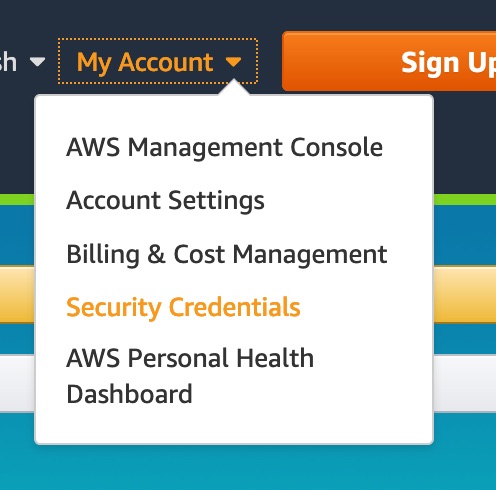
Choose the IAM Users.
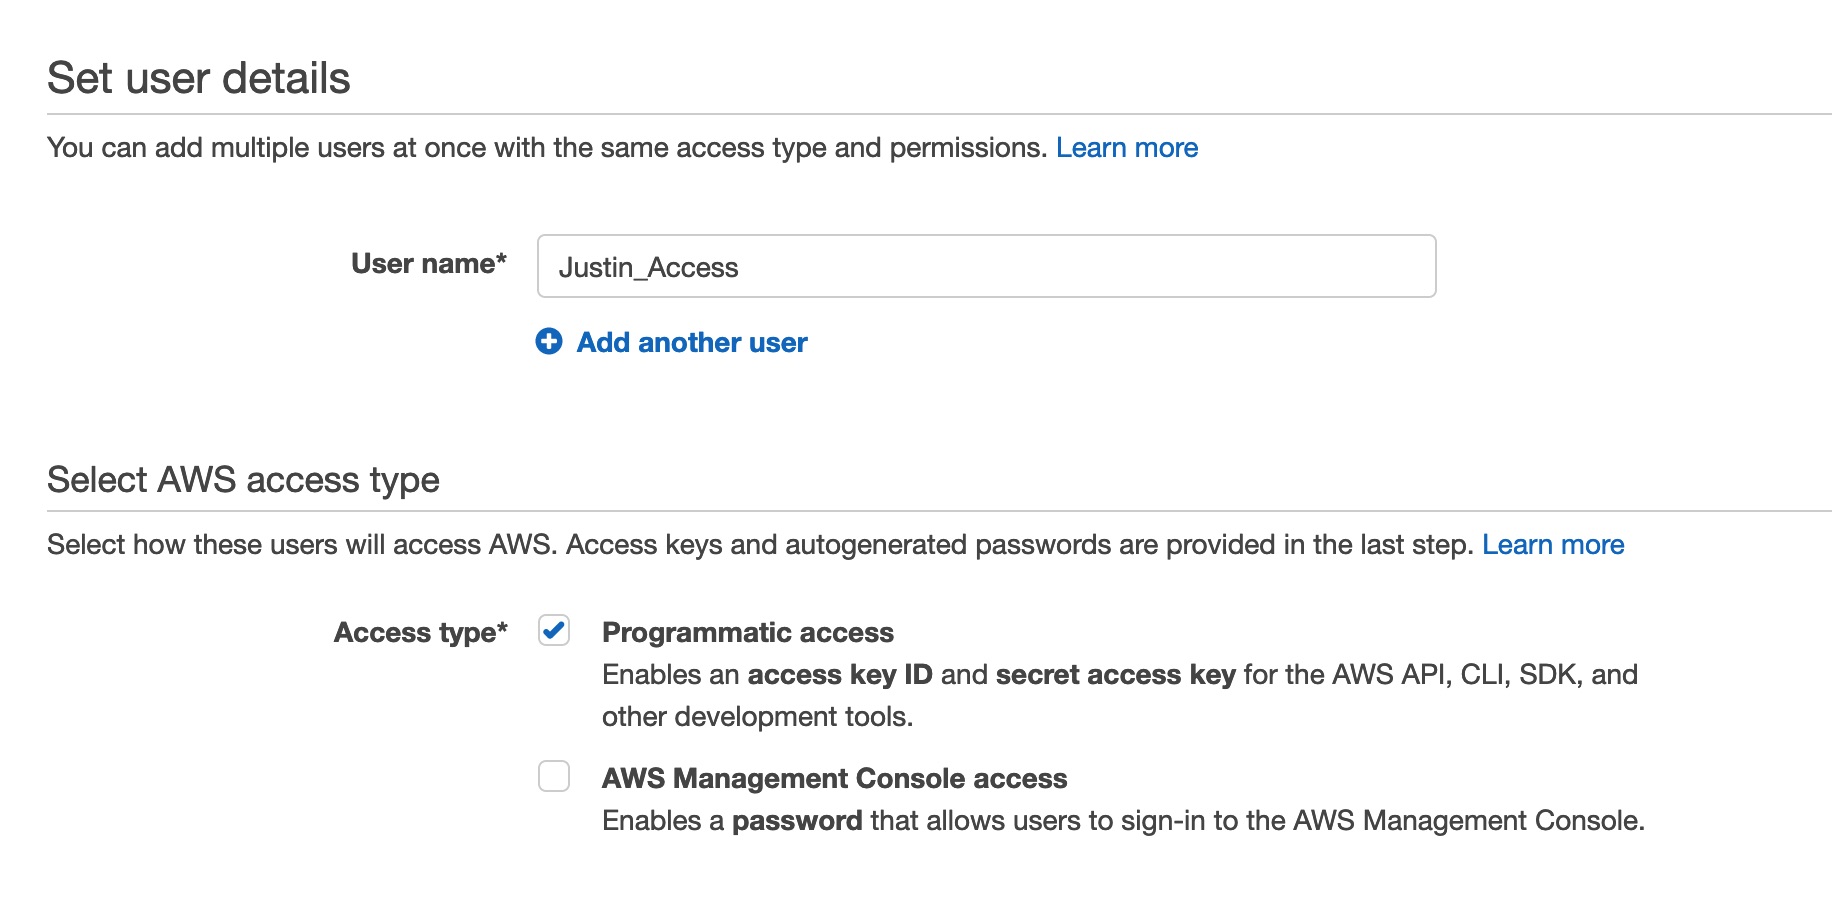
You can have any number of IAM users. So you might want to create an IAM user with full access for reading/writing to a bucket. And another for READ only access. We are going to create a user with full access, so they can list the buckets, allow you to choose one, and upload the material to it.

This is how we attach a policy.
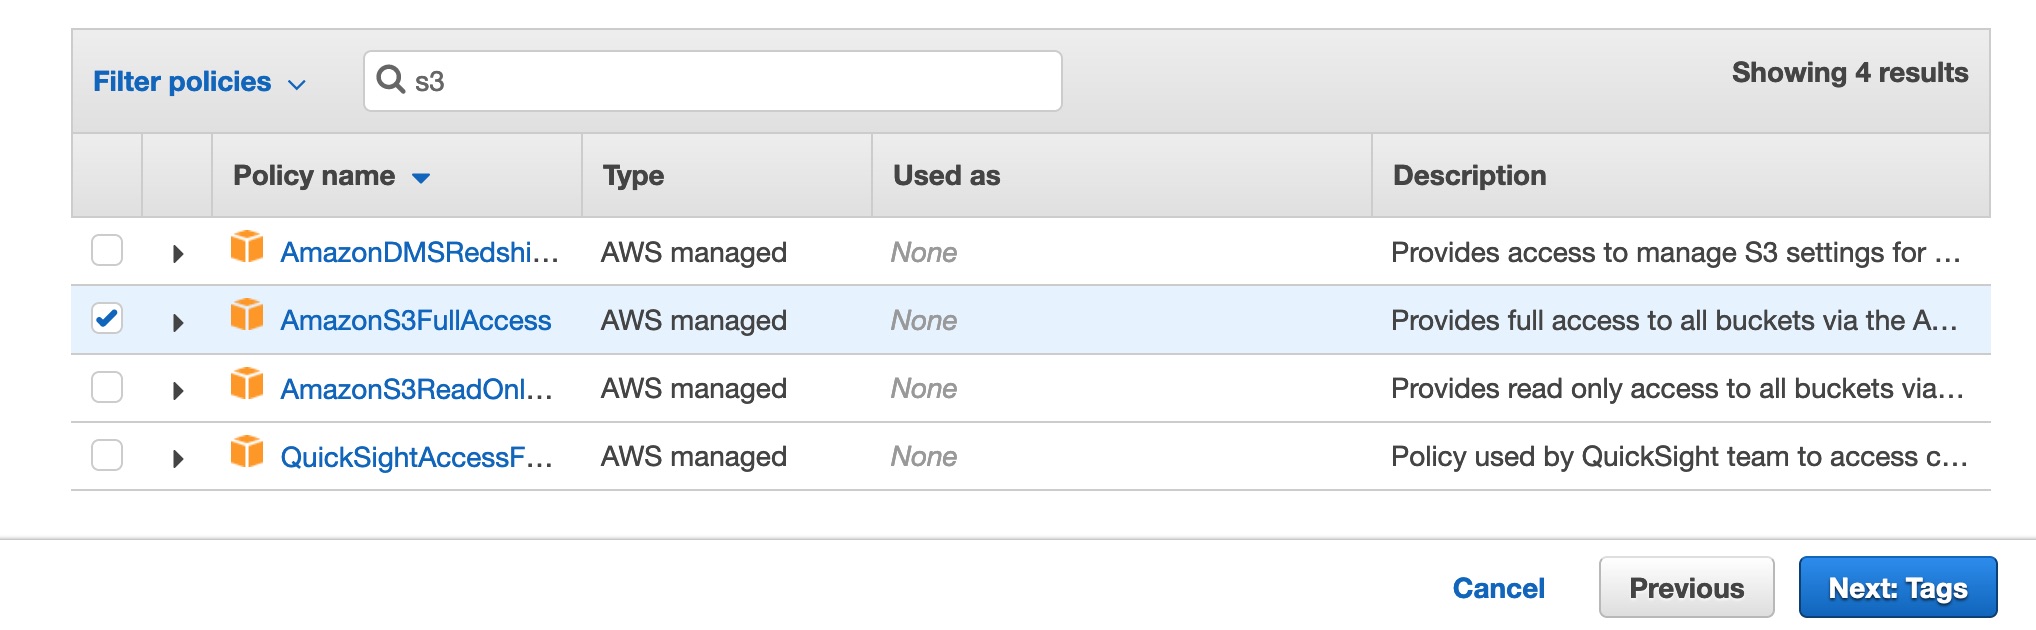
Choose full access.

The access key is fine to show people, but the secret key is something you want to keep private. Even when you enter it into Soundminer, its encrypted so that even we can’t extract it if you send us your preference file. So show the secret key and copy it into a document, or just download the .csv
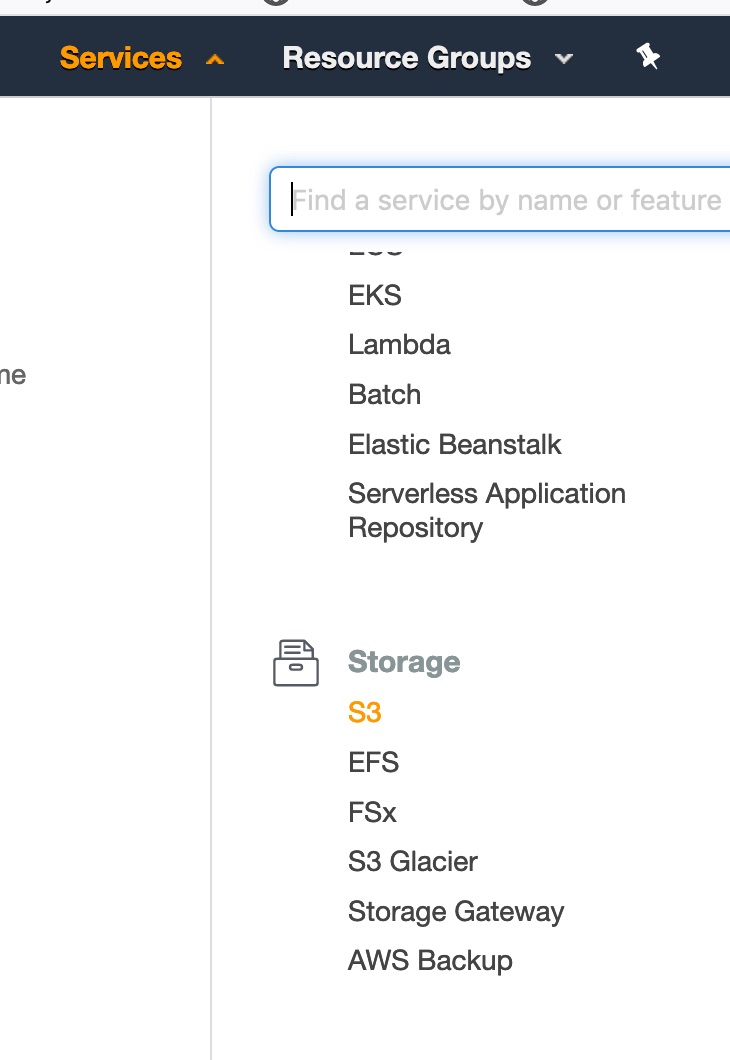
Now we want to go to S3 panel. Amazon has a ton of services, and adding more all the time. We will just be using S3.
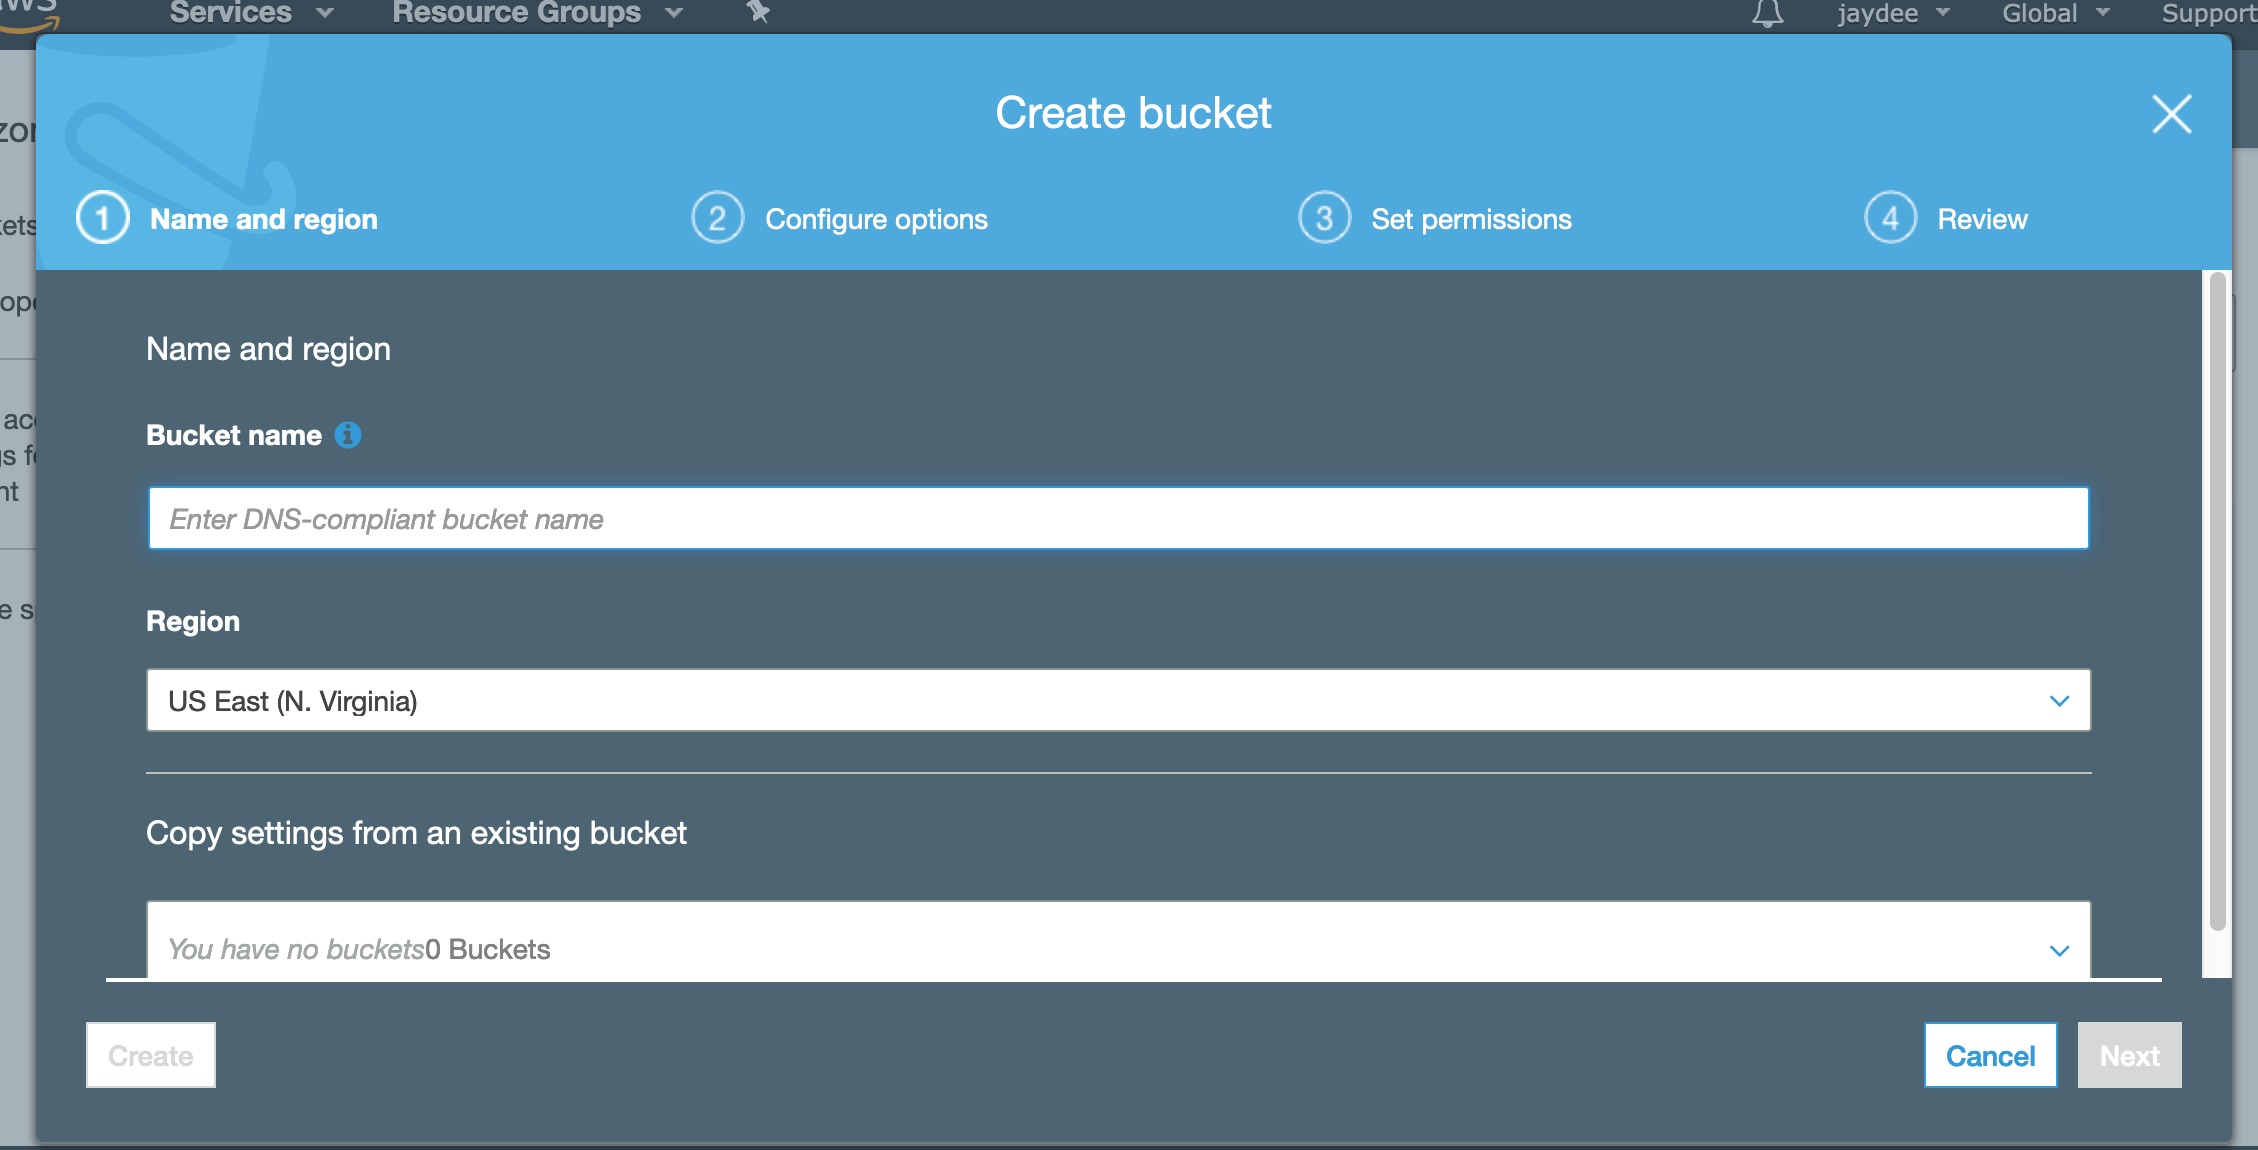
Now we are going to create a bucket(think of it as drive). Give it a name that you’ll remember and that easily identifies you. i.e. Acme-Sound-Soundminer. And as mentioned earlier, choose a region that is close to where you are going to be working.
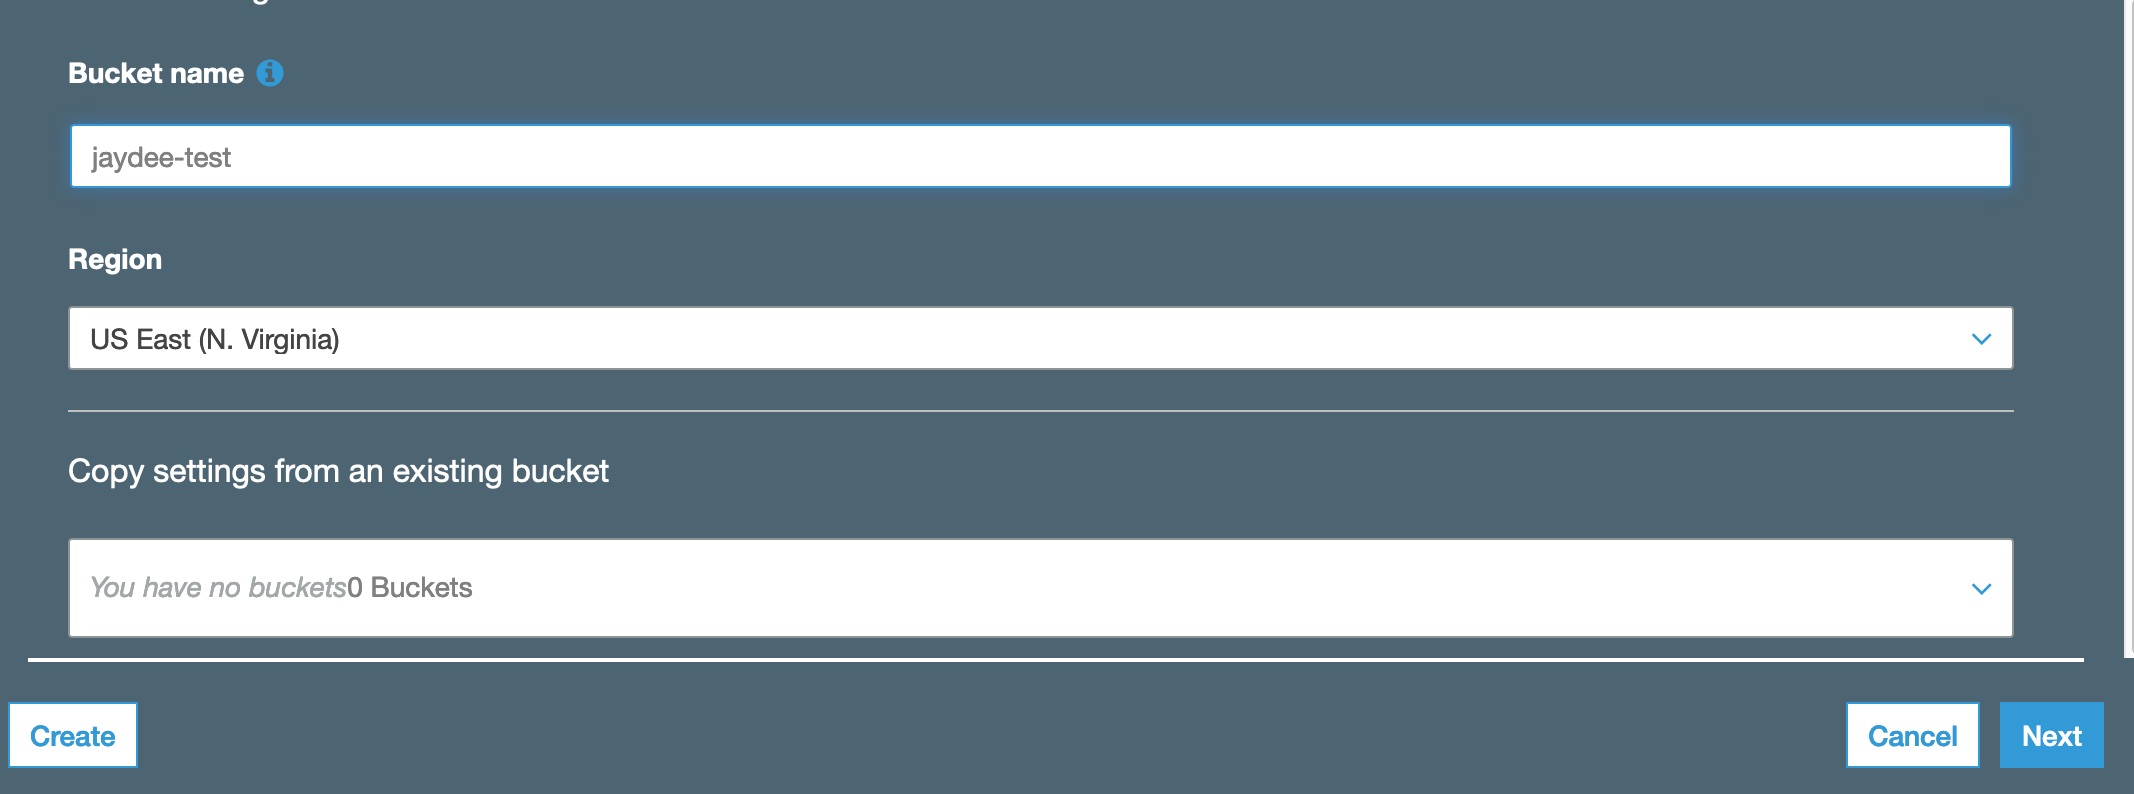
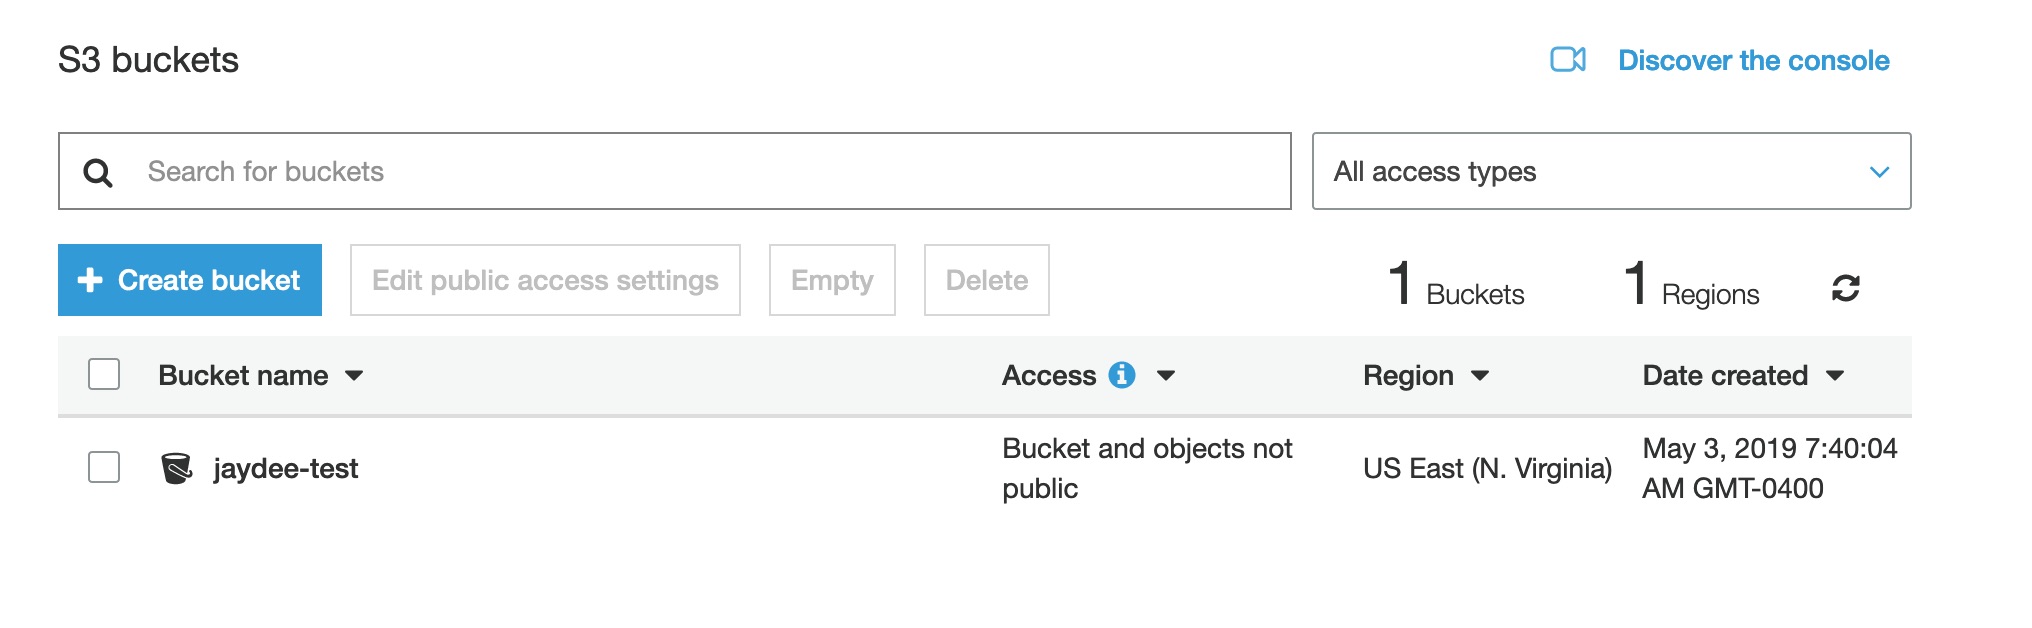
Here is an example bucket I created. Just choose all the defaults for all the pages you click through… (The defaults protect you from accidentally making a bucket readable by anyone)
This is me browsing a bucket while the proxy generator is doing its thing.
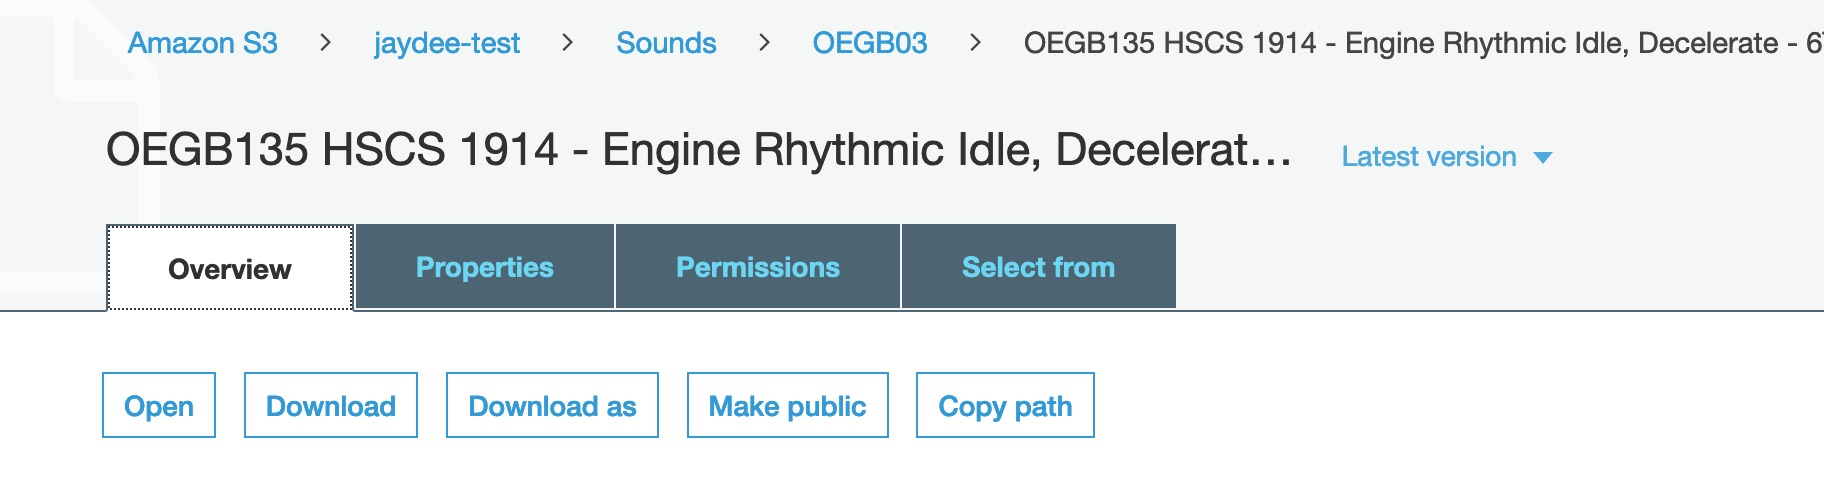
If you go to overview on a sound you’ll see the attributes of the file.
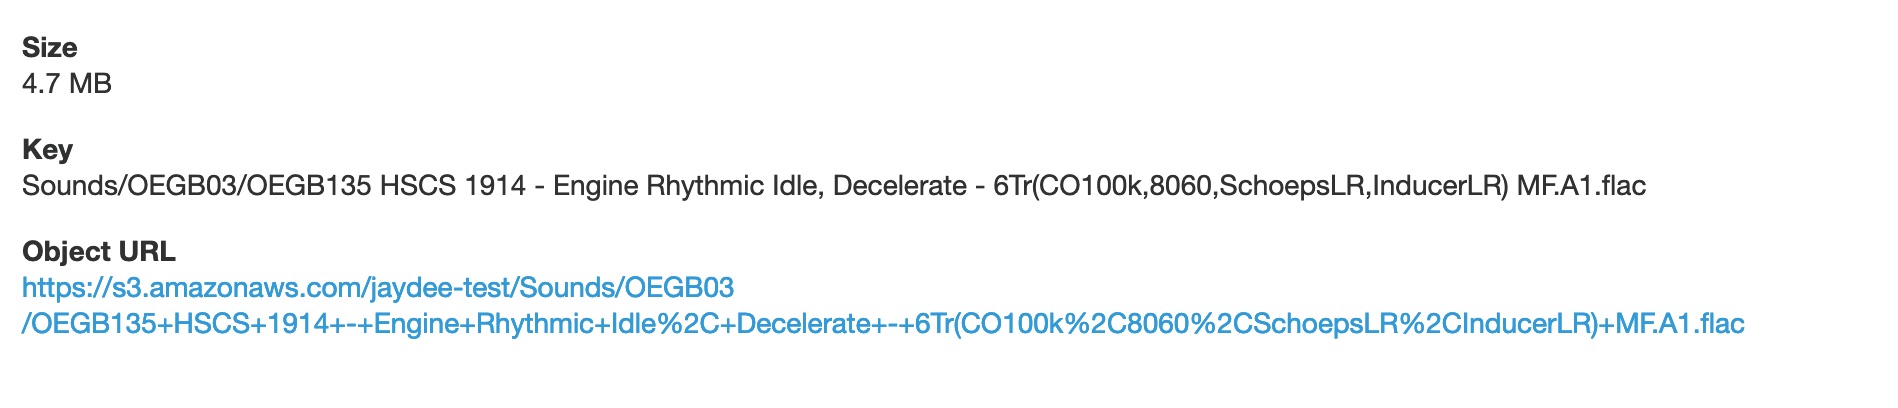
If you have done everything right, clicking on the Object URL should give you an Access Denied message. This is because you’ve said the sound isn’t public, so any requests have to be signed with a valid pair of IAM keys.
Cloudfront
We have experimented with Cloudfront which is the content delivery network that sits on top of S3. The idea is that an 'edge' computer(a computer in a data center close to the end user) caches access to S3. So the first access is the same as using S3 directly, but if its used again speed is faster. We didn't find much use for it after experimenting, but feel free to reach out to us if you have any ideas.
© 2020 Soundminer Inc.